One of the things I didn’t realise when I embarked on this very daunting project, was that I would need to invest in some pretty cool new tools. Some of these have turned out to to be quite cheap, and the sort of thing I’ll probably find further use for. Others, have been a bit more specialised and I’ll probably sell them or pass them on when this is finished. (not that that will be any time soon) . Some were actually a bit tricky to find.
I have no doubt that most of these things will be standard piece of equipment well known to the avid miniaturist or ship building, but many are new to me.
The following list will develop over time as I discover new things that would make lief easier.
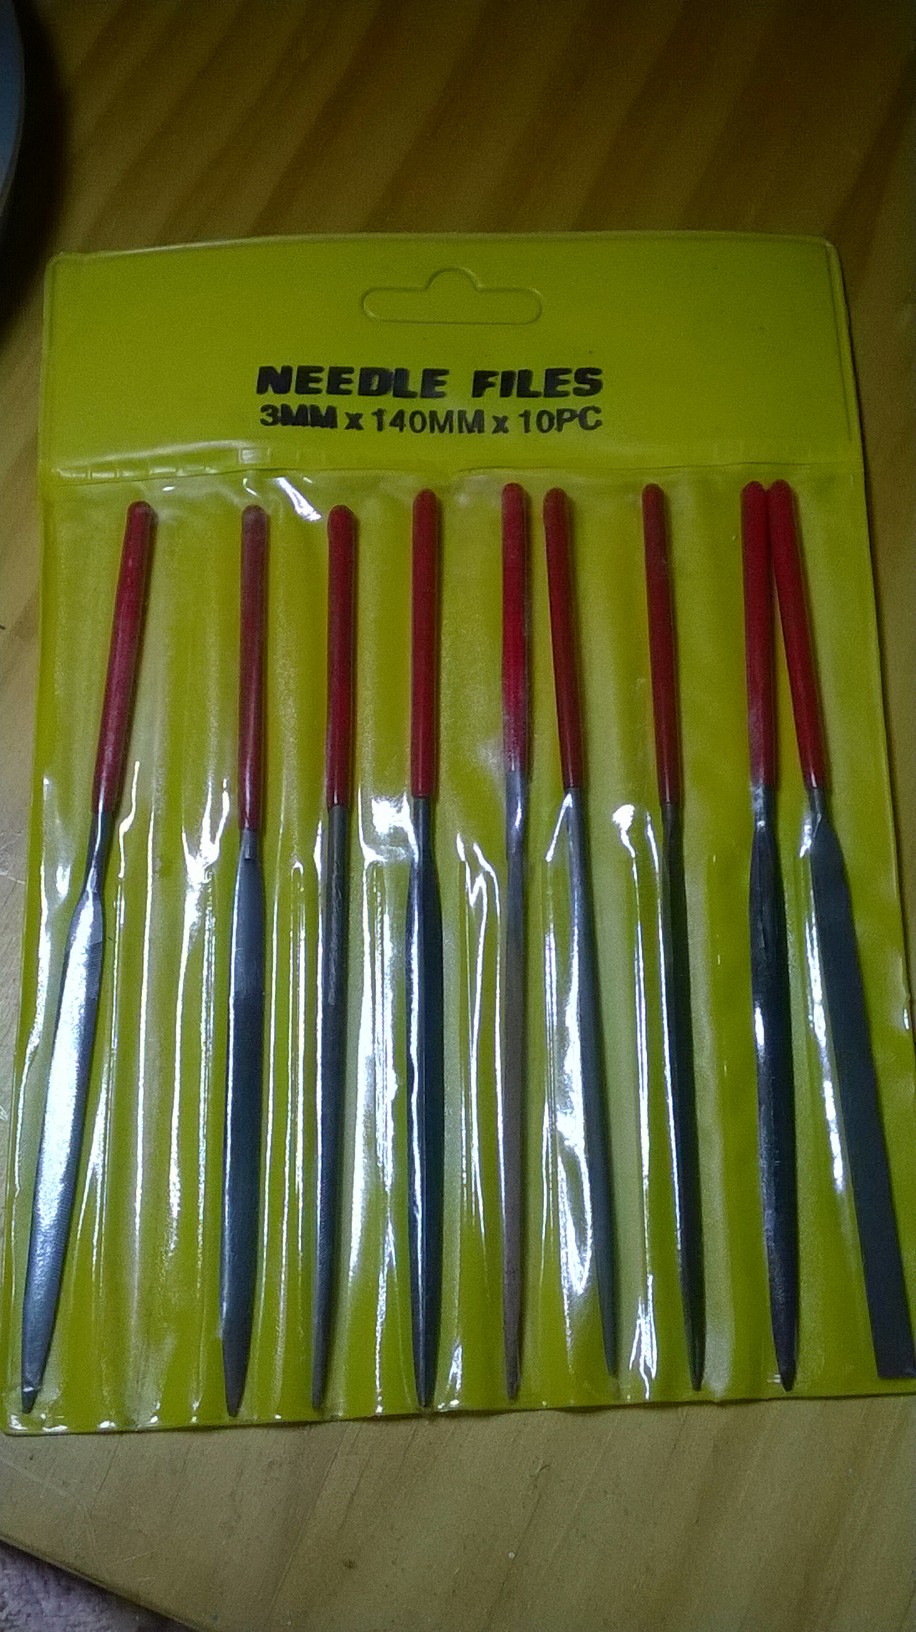
Filing things – Pin files and emery boards, general sanding
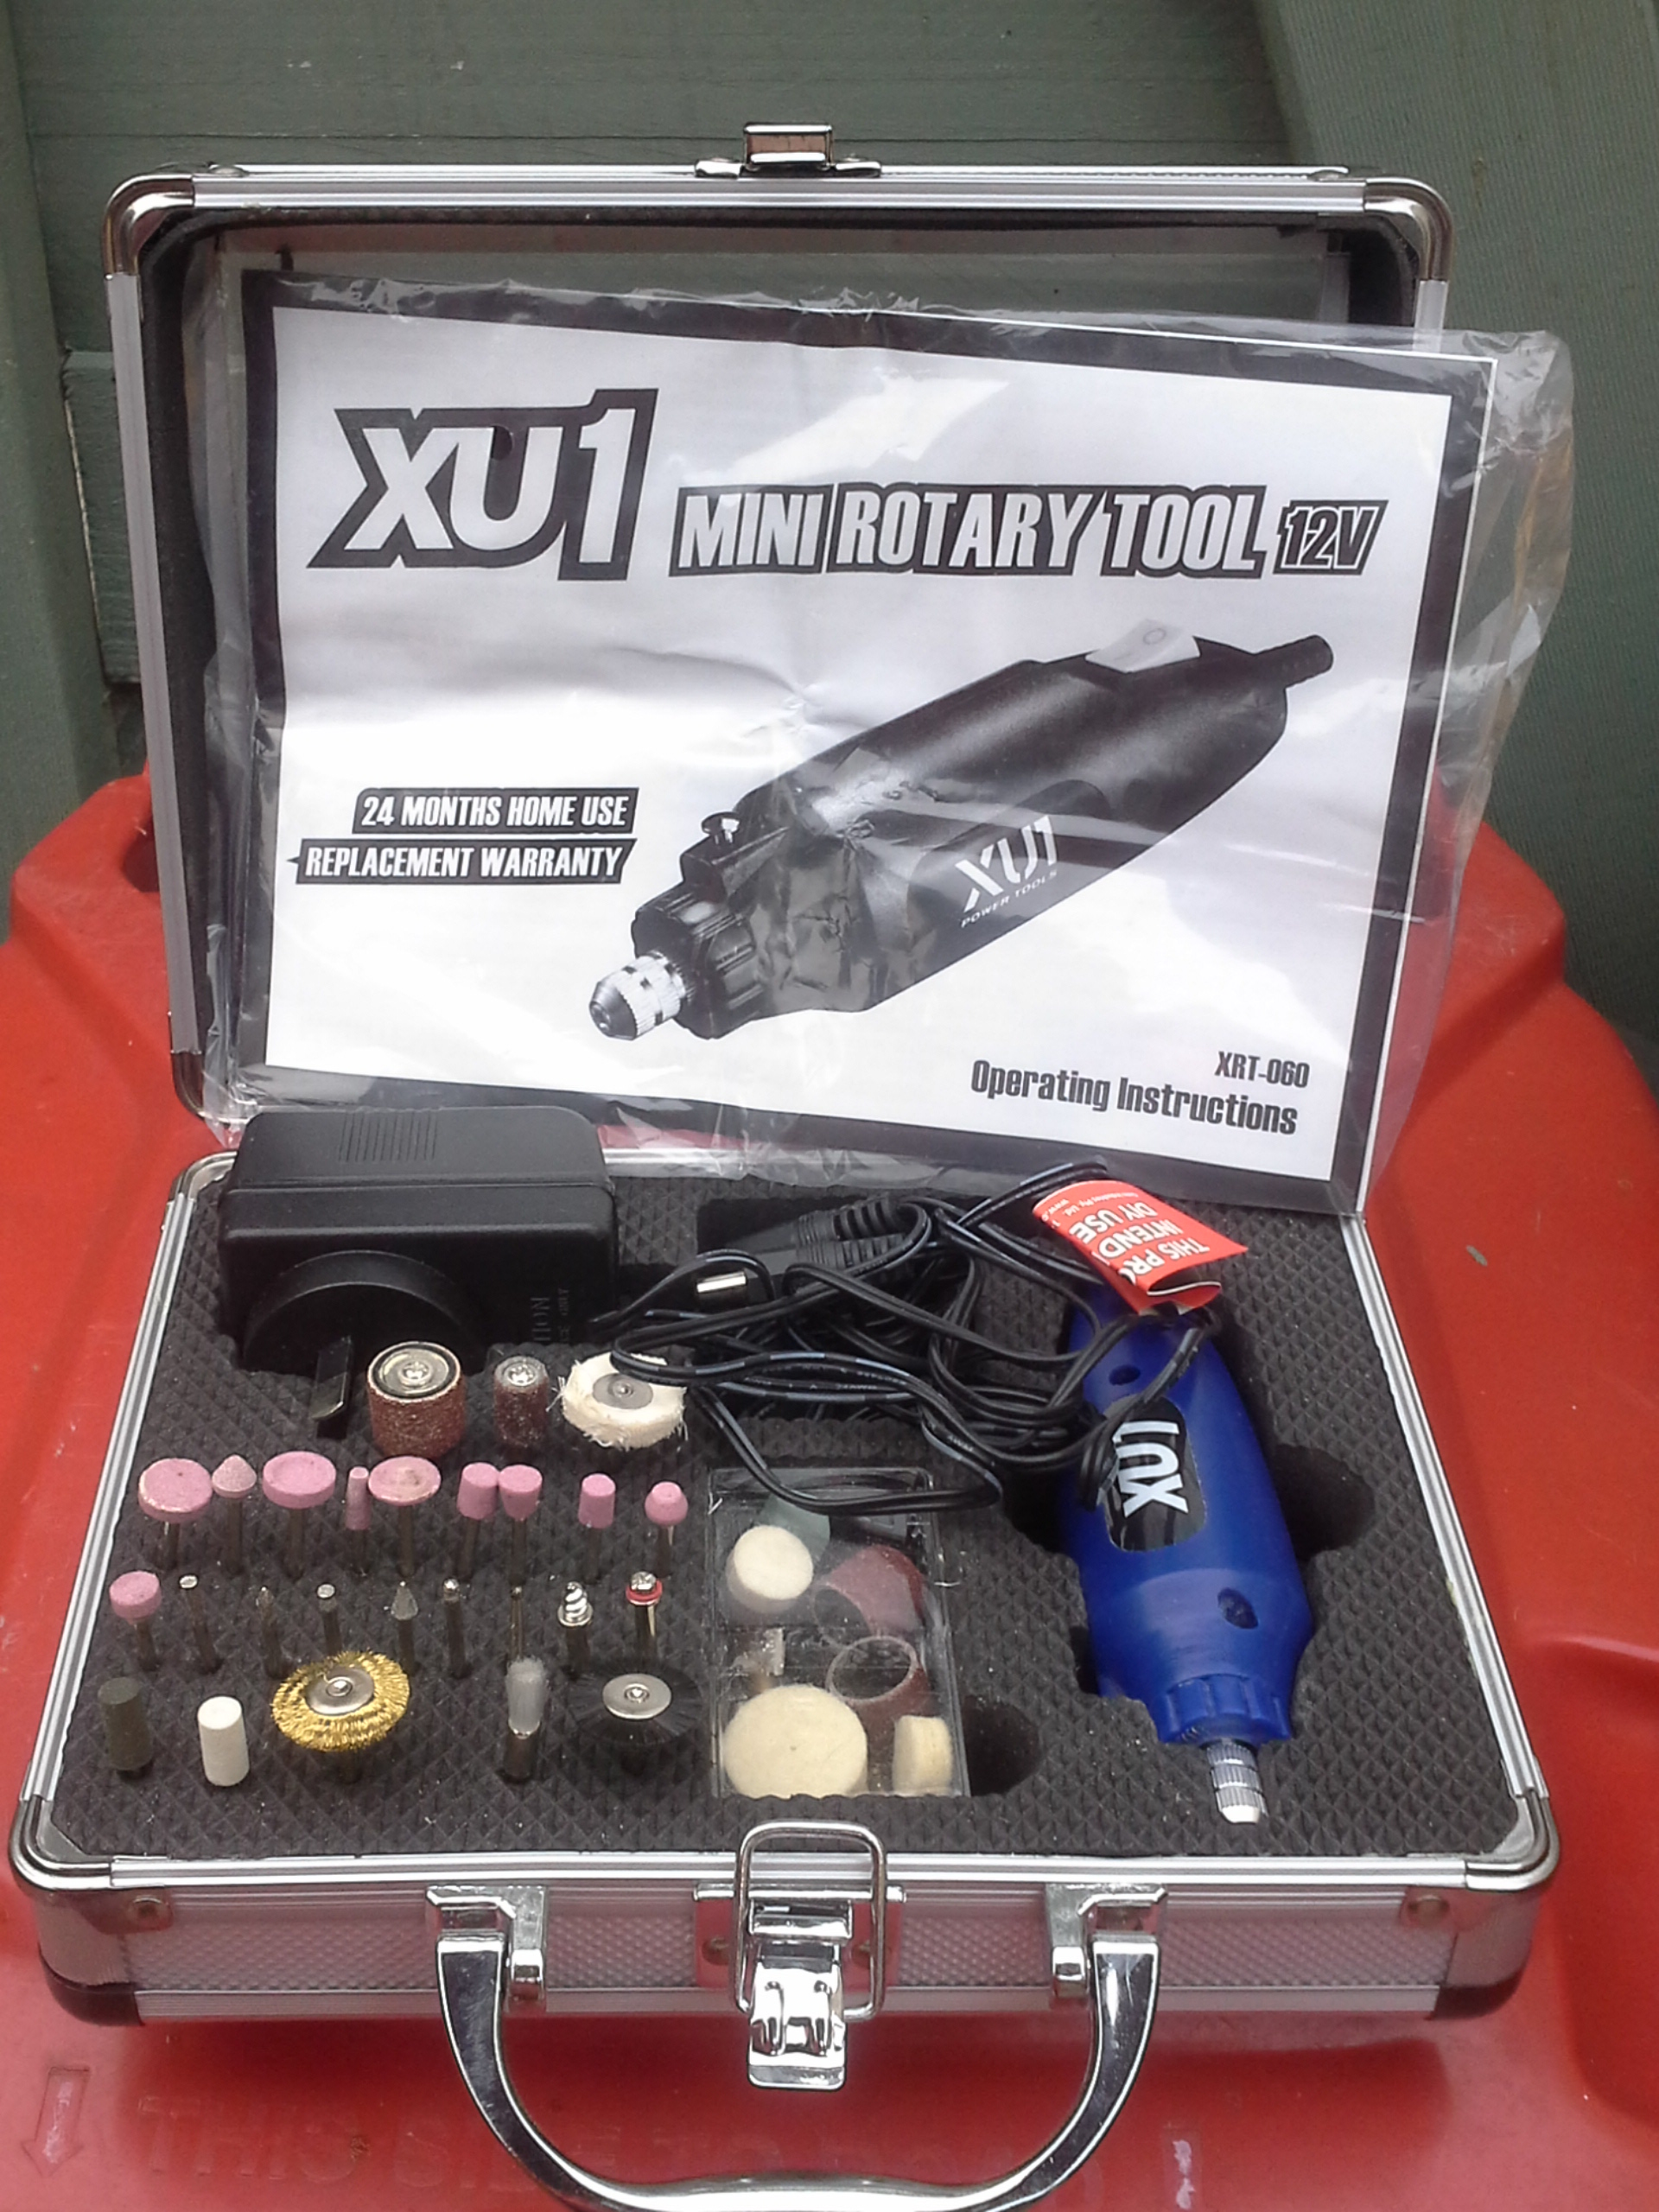
Loving the set of pin files I invested it. It was probably a bit extravagant but they were less than $10 and together with the really cheap emery board I have quite a bit of flexibility with filing small parts. Of course the sanding block is also really great and once I get the hang of the Mini rotary tool set properly, life will be a whole lot easier in the sanding department. This set isn’t the one that came with the Sovereign, its a set I bought from Bunnings when I saw it on special ($22.95) and thought it looked like a good idea. (Its almost identical to the one that has subsequently come with the Sovereign, but it was really good to have the use of it early when shaping the hull plank supports.
 Pin file set |
 Mini rotary tool |
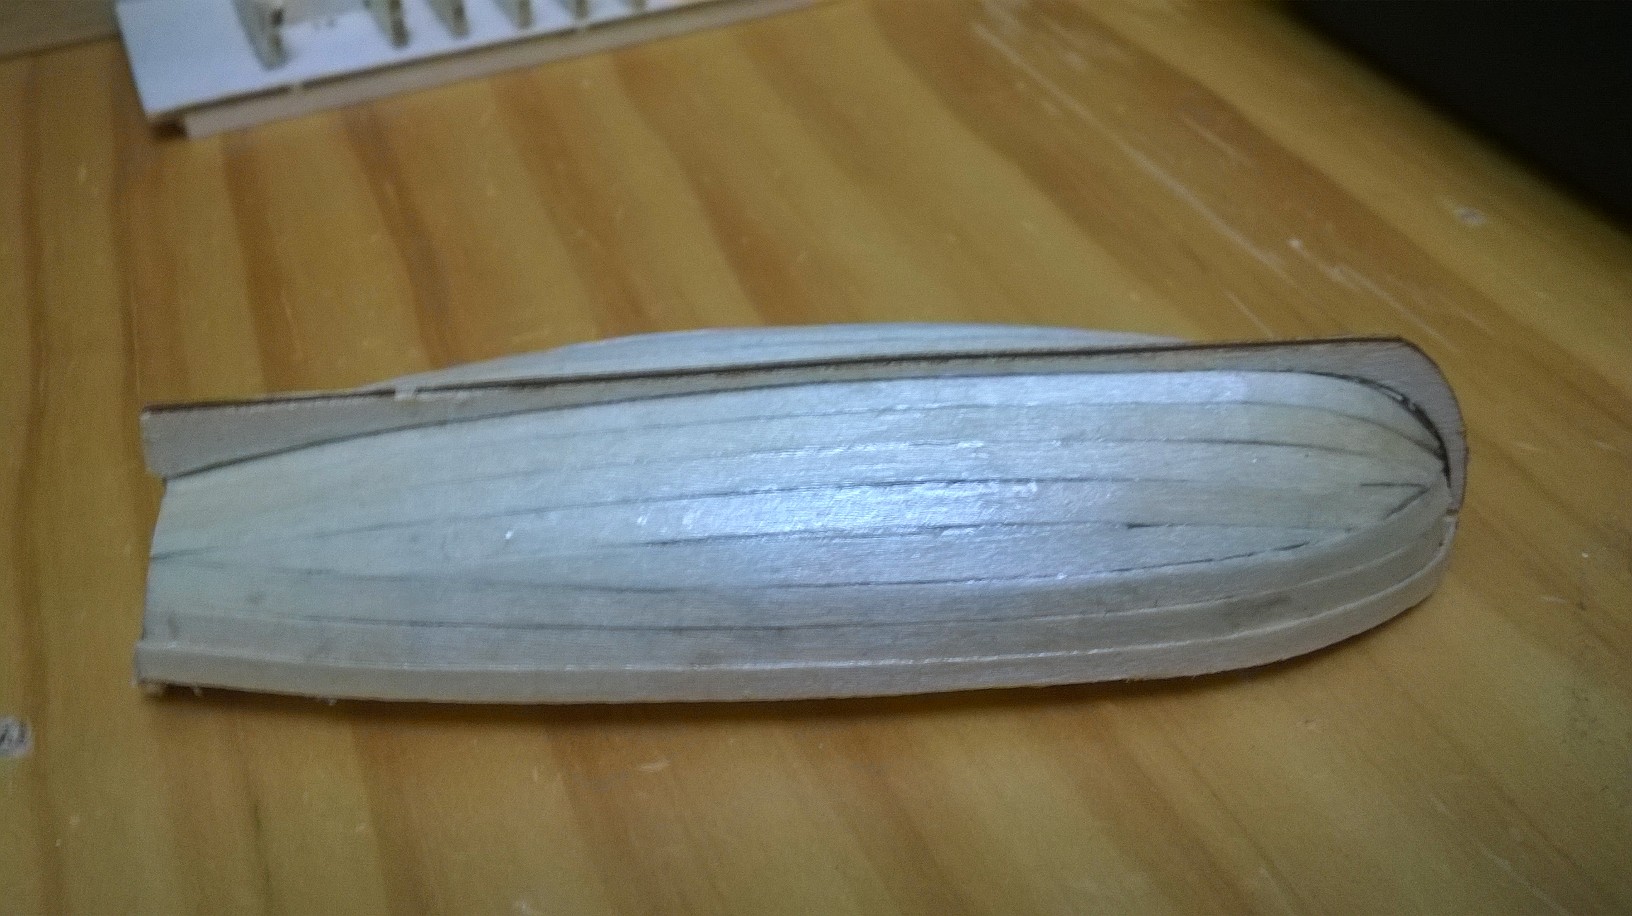
Bending planks
One of the scary things about this project is the need to bend planks to the shape of the hull and the preferably do this without snapping them. SO! after a bit of research and hunting I invested in 2 things. 1. a plank crimper (which was cheap) and 2. a plank bender that looks like a soldering iron with a sanding disk on the end and a wooden mold (This was a around $50 at Hobby Tools Australia. I’m finding that I use one or the other depending on exactly what type of bending I need to do. Can’t say I have a favourite.
I’ve bought a couple of things from them now and they have a great range of all sort so things I never even knew existed.
 Plank bending tools |
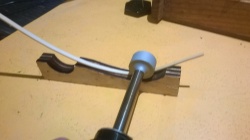 Plank bender in action |
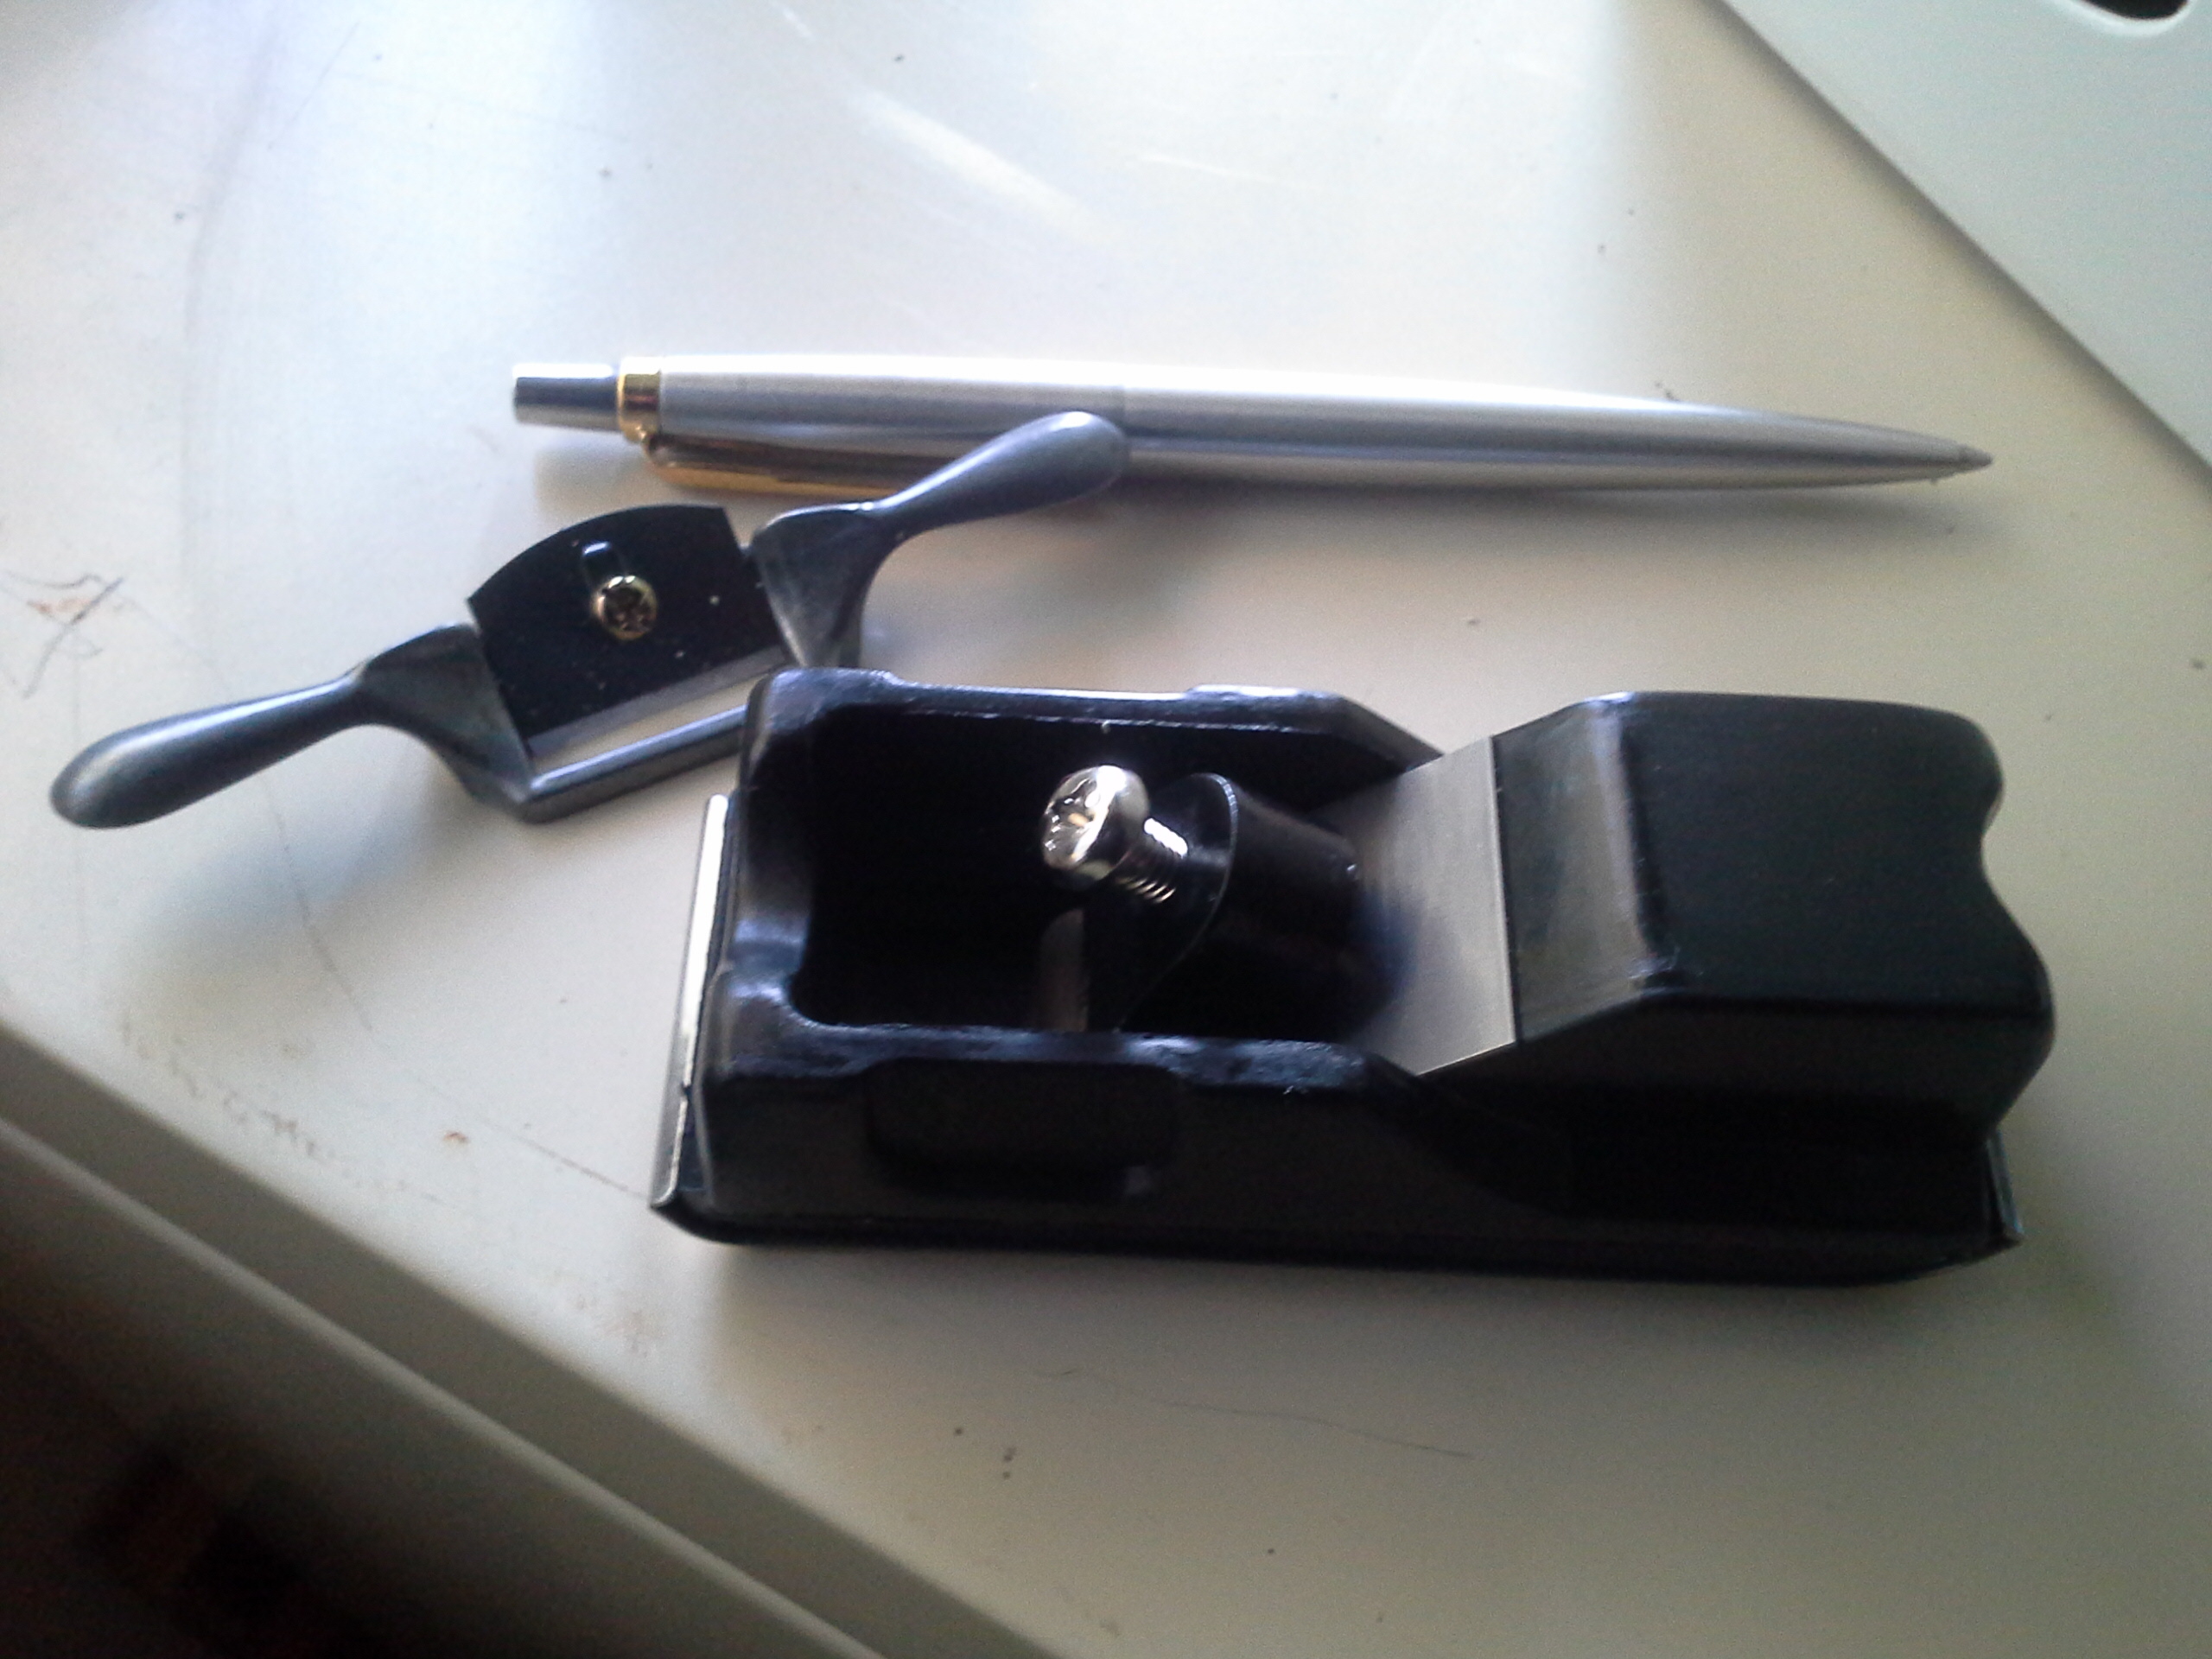
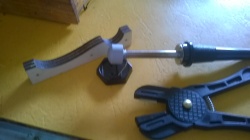
Extra Hands and 23 piece craft/woodworking tool set
Found this awesome gadget on the Holly Tools Australia website.
What I actually went to their site for though was a mini flat plane in order to be able to plane down the sides of the planks for the hull. After the first few rows the planks need to be trimmed so that they end up wedge shaped at both ends of the ship so that they fit together properly. So I knew I needed a mini plane, but had all sorts of trouble finding one. This set include several craft knives and blades and some different shaving, whittling and carving tools which will come in really handy.
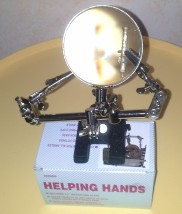 Helping hands |
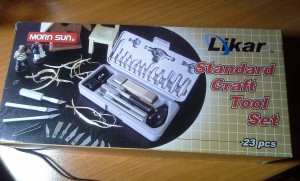 Mini woodworking craft tools Mini woodworking craft tools |
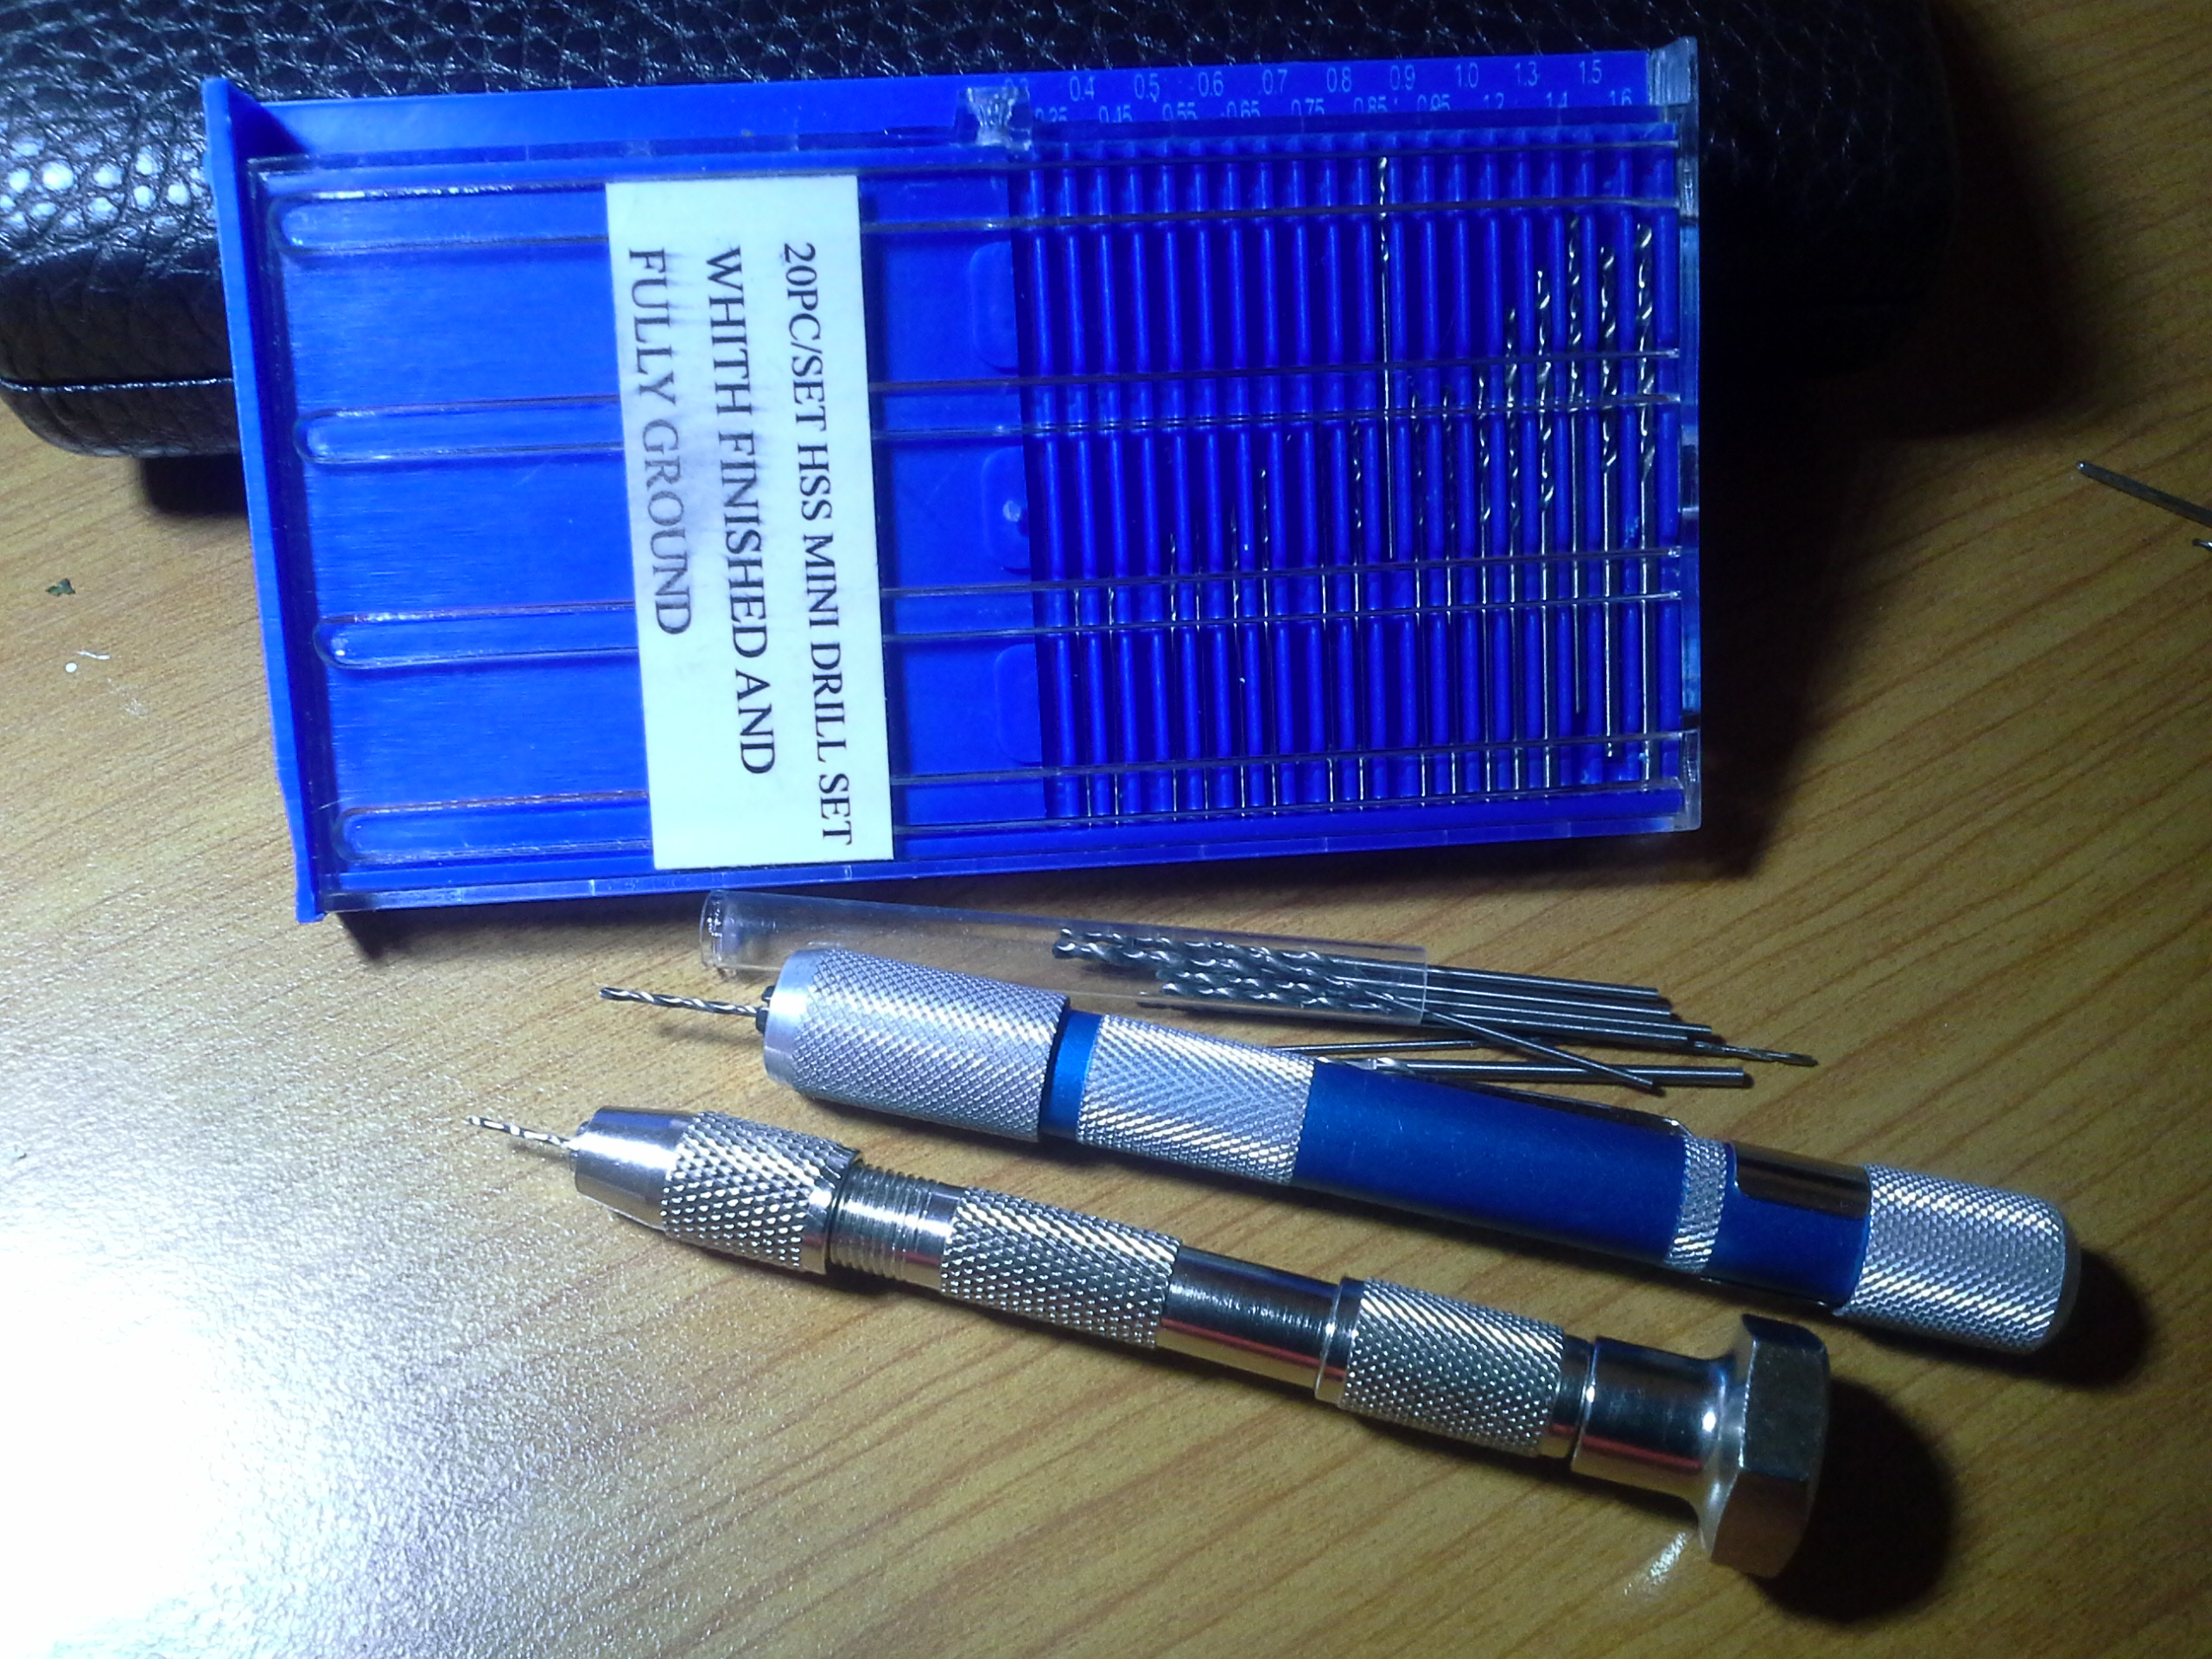
Pin Vice
And of course you can’t do without a pin vice for all those tiny tiny holes you need to make to stop the plants from splitting when you nail them to the ship’s framework. My pin vices and drill bits also came from Holly Tools Australia way back in April 2014 when I started getting serious about this project.
Actually I ended up getting a couple of different styles of pin vice as I some some harder to use than others, and also extra drill bits, because some are so small that they’re quite easy to break, or lose.
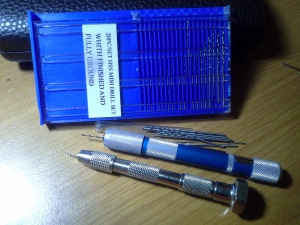
Pin vice and drill bits